





How to Protect Floors from Salt and Slush in Winter
How to Protect Floors from Salt and Slush in Winter
During a big snowstorm, every pair of boots can bring in slush, de-icing salt, sand and small gravel. This dirty water quickly spreads across the entryway, then leaves whitish rings and abrasive particles on the floor. Without a proper containment method, moisture can also reach joints, thresholds and the gaps between boards.
To protect floors from salt and slush, a simple mat isn't always enough. An effective strategy combines a wiping zone, draining boot storage, a collection container and a maintenance routine suited to the type of flooring. This approach helps keep a clean, dry entryway, whether in a home, a school, a gym, an office or a clinic.
Here is a practical, step-by-step method for managing meltwater before it spreads through the building.
Why Can Salt and Slush Damage a Floor?
The melting snow carried in on boots isn't just water. It can also contain salt, de-icing products and abrasive particles. The potential damage varies depending on the flooring, its condition, its finish and the length of exposure.
- Hardwood and engineered wood: water that lingers near the joints can lead to stains, swelling or warping. The risk increases if the finish is already worn.
- Laminate flooring: moisture can seep into the seams and damage the core of the material.
- Vinyl: salt deposits can leave a dull film or whitish marks that take several cleanings to remove.
- Ceramic and grout: tiles generally stand up well to water, but porous or damaged grout can trap dirt and moisture.
- Natural stone: some de-icing products or acidic cleaners can alter the surface. Follow the manufacturer's or installer's recommendations.
Sand and small pebbles add another problem: underfoot, they can act as an abrasive and gradually wear down certain finishes. That's why it's important to contain meltwater while regularly removing solid residue.
Which Drainage Solutions Should You Choose to Protect Your Floor in Winter?
The most practical solutions are those that keep boots out of the liquid and direct meltwater to a container that's easy to empty. The right choice depends on the available space, the number of pairs and the amount of traffic.
1. A Boot Rack with Angled Shelves and a Collection Tray
A draining boot rack uses angled shelves or channels to guide water, mud and debris toward a container at the base. Footwear stays elevated instead of sitting in a puddle, which also promotes airflow around the soles.
Look for a model with a tray that can be removed without moving the whole unit. Also check that the edges and channels properly direct runoff into the container. This type of system still needs regular checks to keep the reservoir from overflowing on very busy days.
2. Vertical Storage for Small Entryways
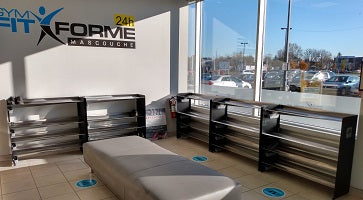
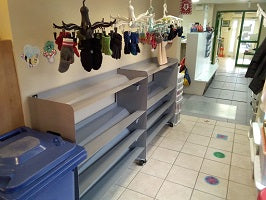
In a narrow vestibule, a condo or a small locker room, a multi-tier unit increases capacity without taking up a lot of floor space. A modular system can also make it easier to adapt storage to tall boots, low shoes and the needs of a family or a commercial facility.
Before buying, measure the available width, the height under existing hooks or shelves and the clearance needed to open the door. Then estimate the actual number of pairs to store at peak times rather than relying only on the outside dimensions.
3. An Entryway Bench with Built-In Drainage
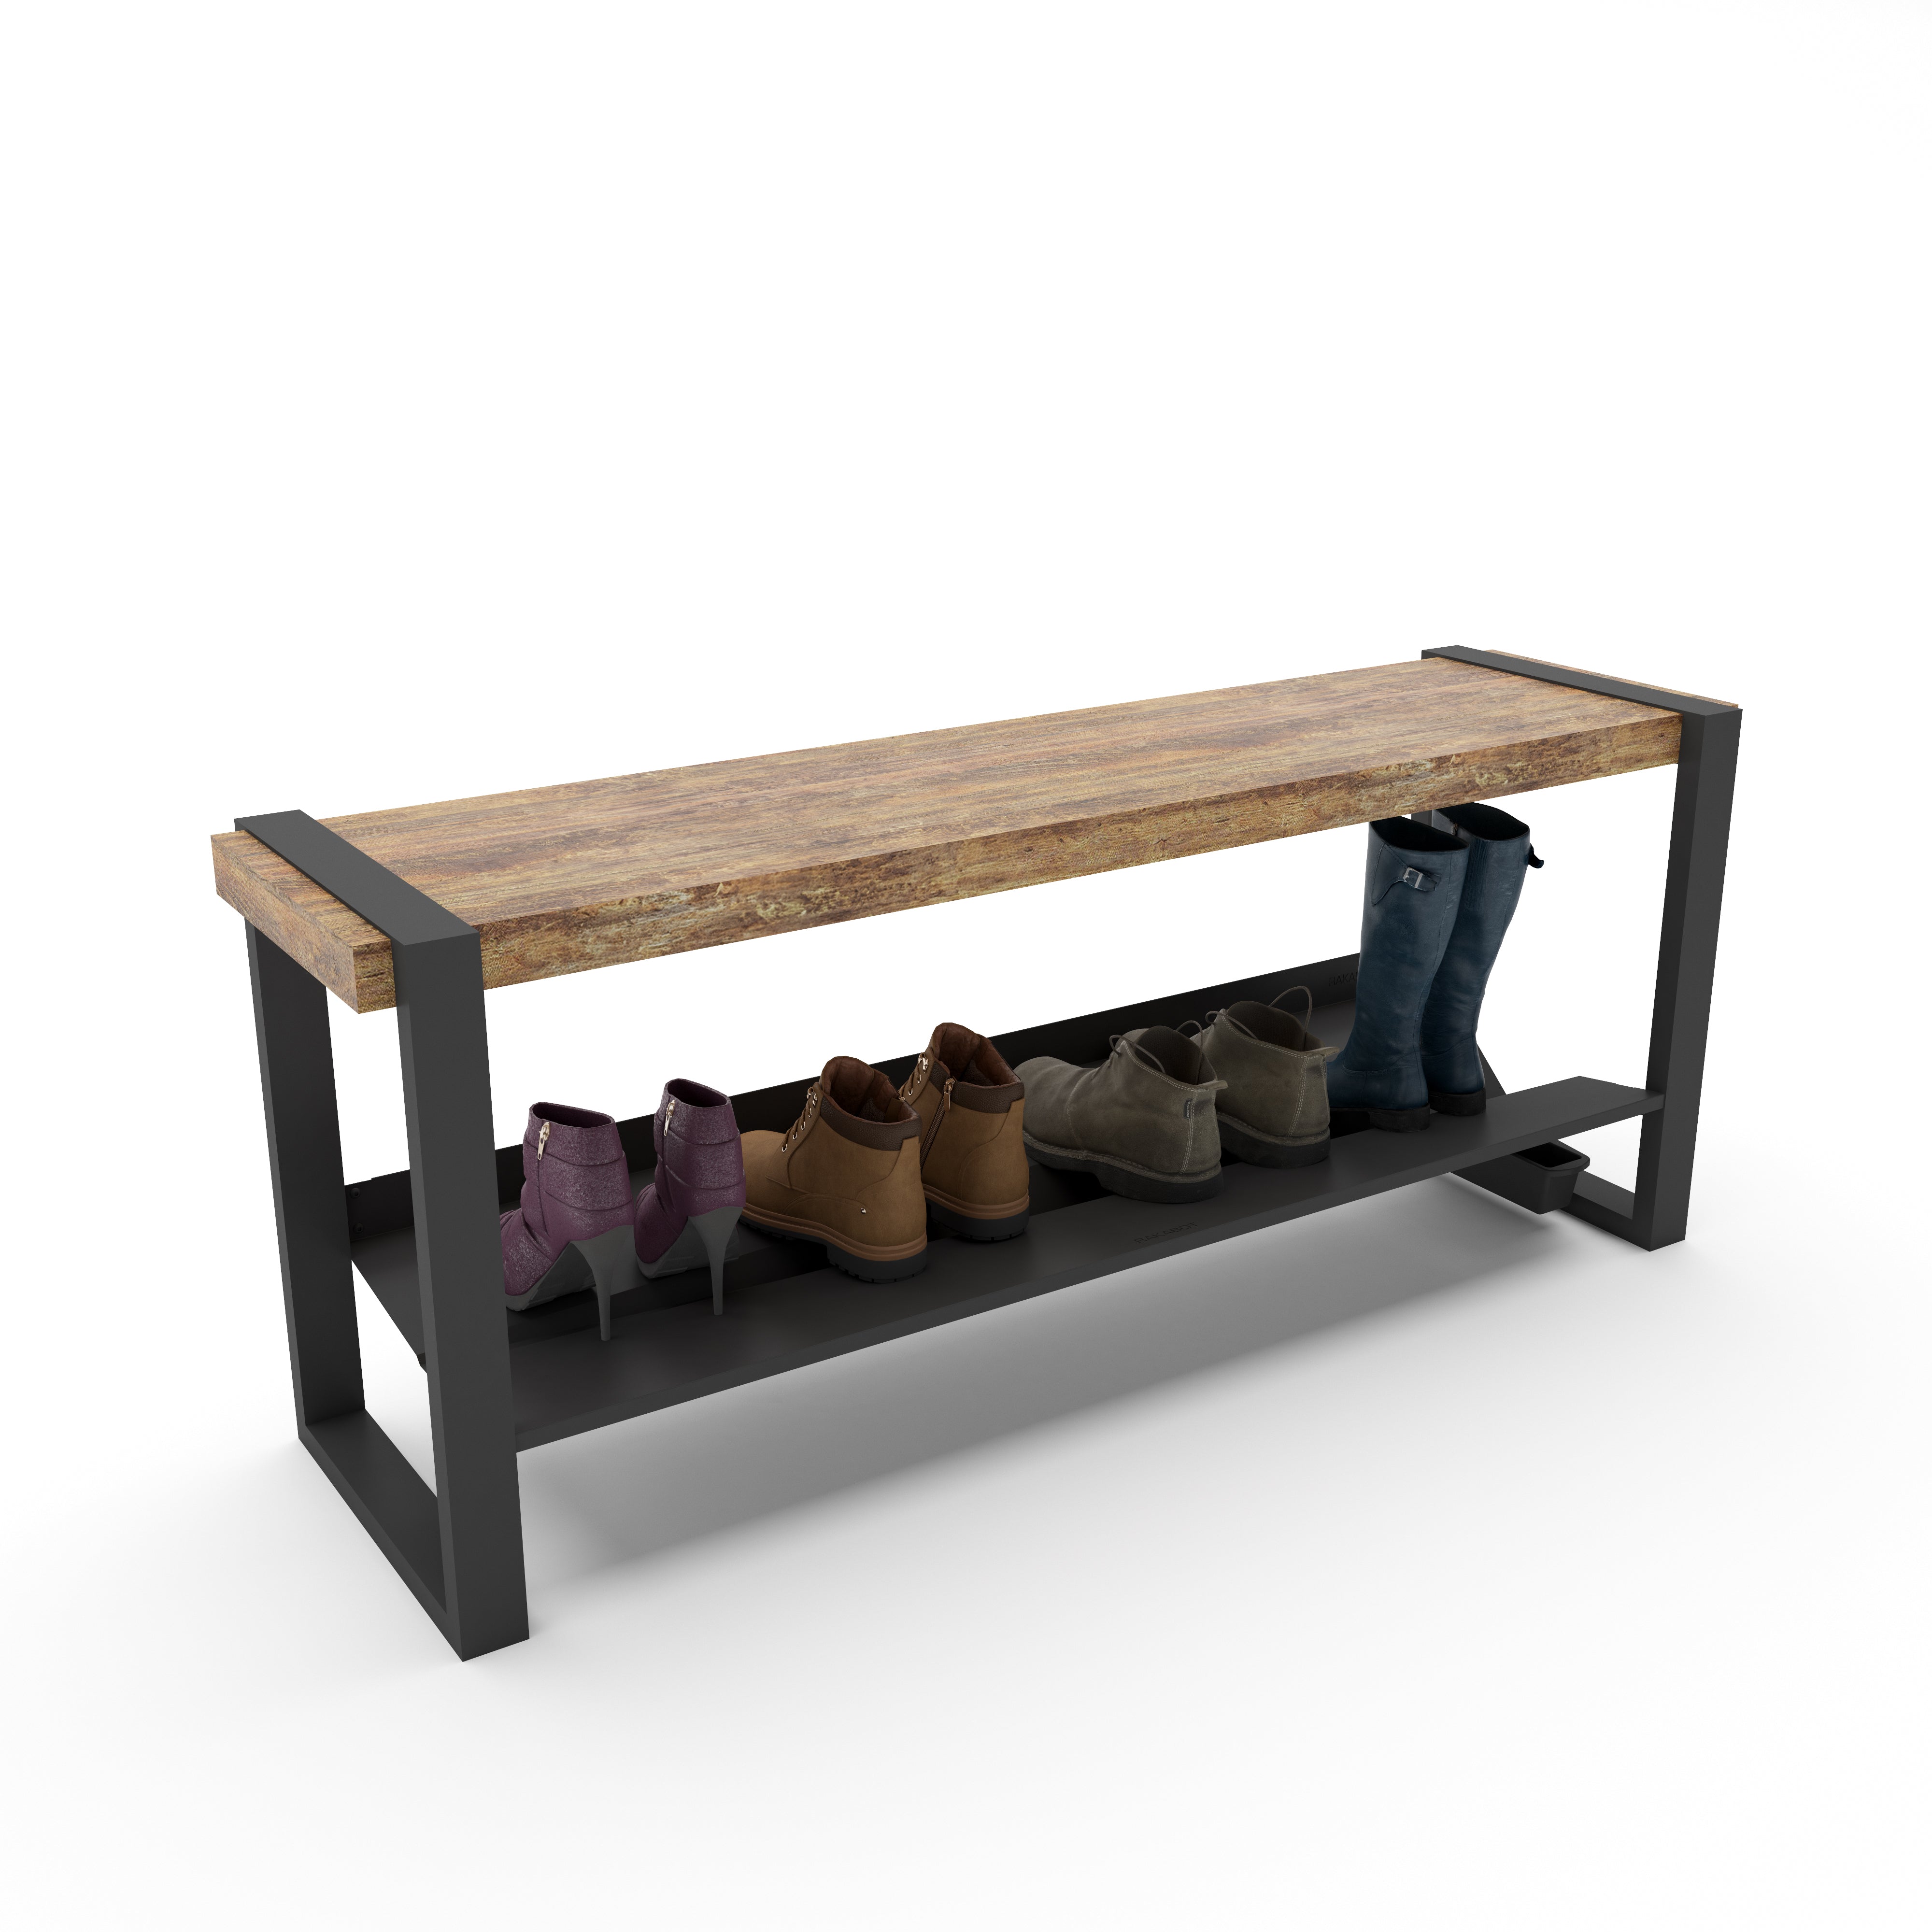
A bench with draining boot storage combines a place to sit with a containment zone under the seat. This setup is particularly well suited to residential vestibules, spas, schools and facilities where visitors must remove their boots.
The bench should be positioned so that it doesn't block the door, traffic flow or required exits. As with any furniture intended for seating, follow the manufacturer's instructions for use and specifications.
4. A Mobile Unit for High-Traffic Areas
In gyms, offices and facilities that welcome many visitors, a unit on casters can make it easier to clean the floor underneath the storage. The casters should lock once the boot rack is in place, and the unit should be moved according to the manufacturer's recommendations.
Mobility doesn't replace drainage capacity. Choose a unit that combines angled shelves, water containment and removable containers to reduce daily handling.
5. A Floor Drain for a Planned Renovation
In a large locker room, a commercial vestibule or an entryway under renovation, a floor drain can complement mats and draining storage. However, this option requires proper slope, a waterproofing membrane and an installation that meets local requirements. A qualified contractor can determine whether the existing structure and plumbing are suitable.
For most residential entryways, a draining boot rack with a removable tray is a simpler solution to integrate since it requires no plumbing work.
Step by Step: Create a Zone That Contains Melting Snow
Step 1: Stop the Snow Before the Door
Install an outdoor boot scraper designed for winter to remove some of the snow and gravel before people come in. Clear the doorstep regularly so accumulated snow isn't pushed inside every time the door opens.
Step 2: Add an Absorbent Mat Inside
Place a mat designed to hold moisture right inside the threshold. Choose a size long enough to allow several steps and a backing compatible with your flooring. Some backings can react with wood, vinyl or certain finishes; check the flooring manufacturer's recommendations.
The mat should be dried and cleaned frequently. Once saturated, it can transfer water and salt to footwear or to the adjacent flooring.
Step 3: Place the Boot Rack Within Easy Reach
Install the storage as close to the door as possible without interfering with how it opens. The goal is to let occupants take off their boots before walking any further into the building.
In a family entryway, plan a designated spot for each person. In a commercial setting, calculate capacity based on the expected peak traffic and keep a clear passage that meets the needs of the space.
Step 4: Direct All the Water to a Container
Check that the shelves, channels and tray are properly aligned. Water from the upper tiers shouldn't drip onto boots stored below or fall directly onto the floor. A container with closed sides limits splashing during use and while carrying it to the sink.
Step 5: Plan a Zone for Wet Accessories
Mittens, snow pants and umbrellas can also spread water. Add hooks, a bin or a separate rack above a protected surface. Avoid hanging soaked items directly above a vulnerable floor or dry footwear.
Step 6: Clean Up Tracks Quickly
Wipe up water as soon as possible with a clean, soft cloth. Remove solid particles first so you don't rub them into the finish. Then use a cleaner recommended for your type of flooring; a product suited to vinyl isn't necessarily right for wood or natural stone.
How Do You Maintain Draining Boot Storage?
Even a well-designed system needs maintenance to keep containing meltwater and residue effectively.
During a Storm or a Thaw
- Check the tray level after the busiest arrival times.
- Empty the container into a utility sink or an appropriate drain before it gets too full.
- Collect sand and gravel rather than sending large amounts down the plumbing.
- Immediately wipe up any water that has gone beyond the containment zone.
- Dry or replace the indoor mat when it becomes saturated.
Every Week During Winter
- Remove and rinse the collection containers.
- Wipe the shelves, edges and channels with lukewarm water and mild soap.
- Remove salt deposits before they build up.
- Inspect the fasteners, modular connectors and casters, if applicable.
- Dry the parts before putting the system back into service.
For stubborn deposits, use only a product compatible with the storage unit's material and finish. Vinegar can damage some stones, metals and coatings, so it shouldn't be applied without first checking the care instructions.
Comparing the Main Protection Options
- Flat boot tray: affordable and simple, but water can pool around the soles. It needs to be emptied and washed often.
- Absorbent mat: useful for removing moisture underfoot, but it can become saturated during a storm and doesn't replace draining storage.
- Open shoe rack: handy for organizing dry pairs, but slatted shelves can let water drip onto the shoes below or the floor.
- Wooden storage: visually warm, but how it holds up depends on the wood species, the finish and repeated exposure to moisture.
- Draining boot rack: directs meltwater into a tray and keeps pairs above the liquid, provided the system is properly positioned and emptied regularly.
How Do You Choose the Right Solution for Your Entryway?
Before choosing a system, measure the space and note the real constraints of the entryway. A properly sized solution is generally more useful than a unit that's too small, bulky or hard to clean.
- Capacity: count the number of pairs present at peak times and allow room for taller boots.
- Available space: measure the width, depth and height, without forgetting the door swing.
- Drainage: look at the water's path, how easy the tray is to access and how easy it is to rinse.
- Materials: choose surfaces suited to wet environments and repeated cleaning. Materials described as rust-resistant may be relevant in entryways exposed to salt.
- Mobility: in a commercial facility, locking casters can make it easier to reach the floor for maintenance.
- Configuration: compare the number of tiers and the available widths based on the volume of footwear, rather than relying on appearance alone.
A Simple Method for Keeping an Entryway Clean and Dry
To protect your floor in winter, think in three zones: scrape off snow outside, absorb moisture at the threshold and store boots on a surface that directs water into a container. Add to that a quick cleanup of tracks and regular emptying of the trays.
This setup helps reduce puddles, salt deposits and time spent cleaning. It also helps create a more orderly, welcoming entryway during storms, without relying on a single mat or a tray that fills up quickly.
Want to better manage wet boots in a home or facility? Explore the shoe and boot storage solutions from RAKABOT, including modular systems and entryway benches with a draining shelf and container. Compare the available sizes or ask for help choosing a configuration suited to your space and your traffic.